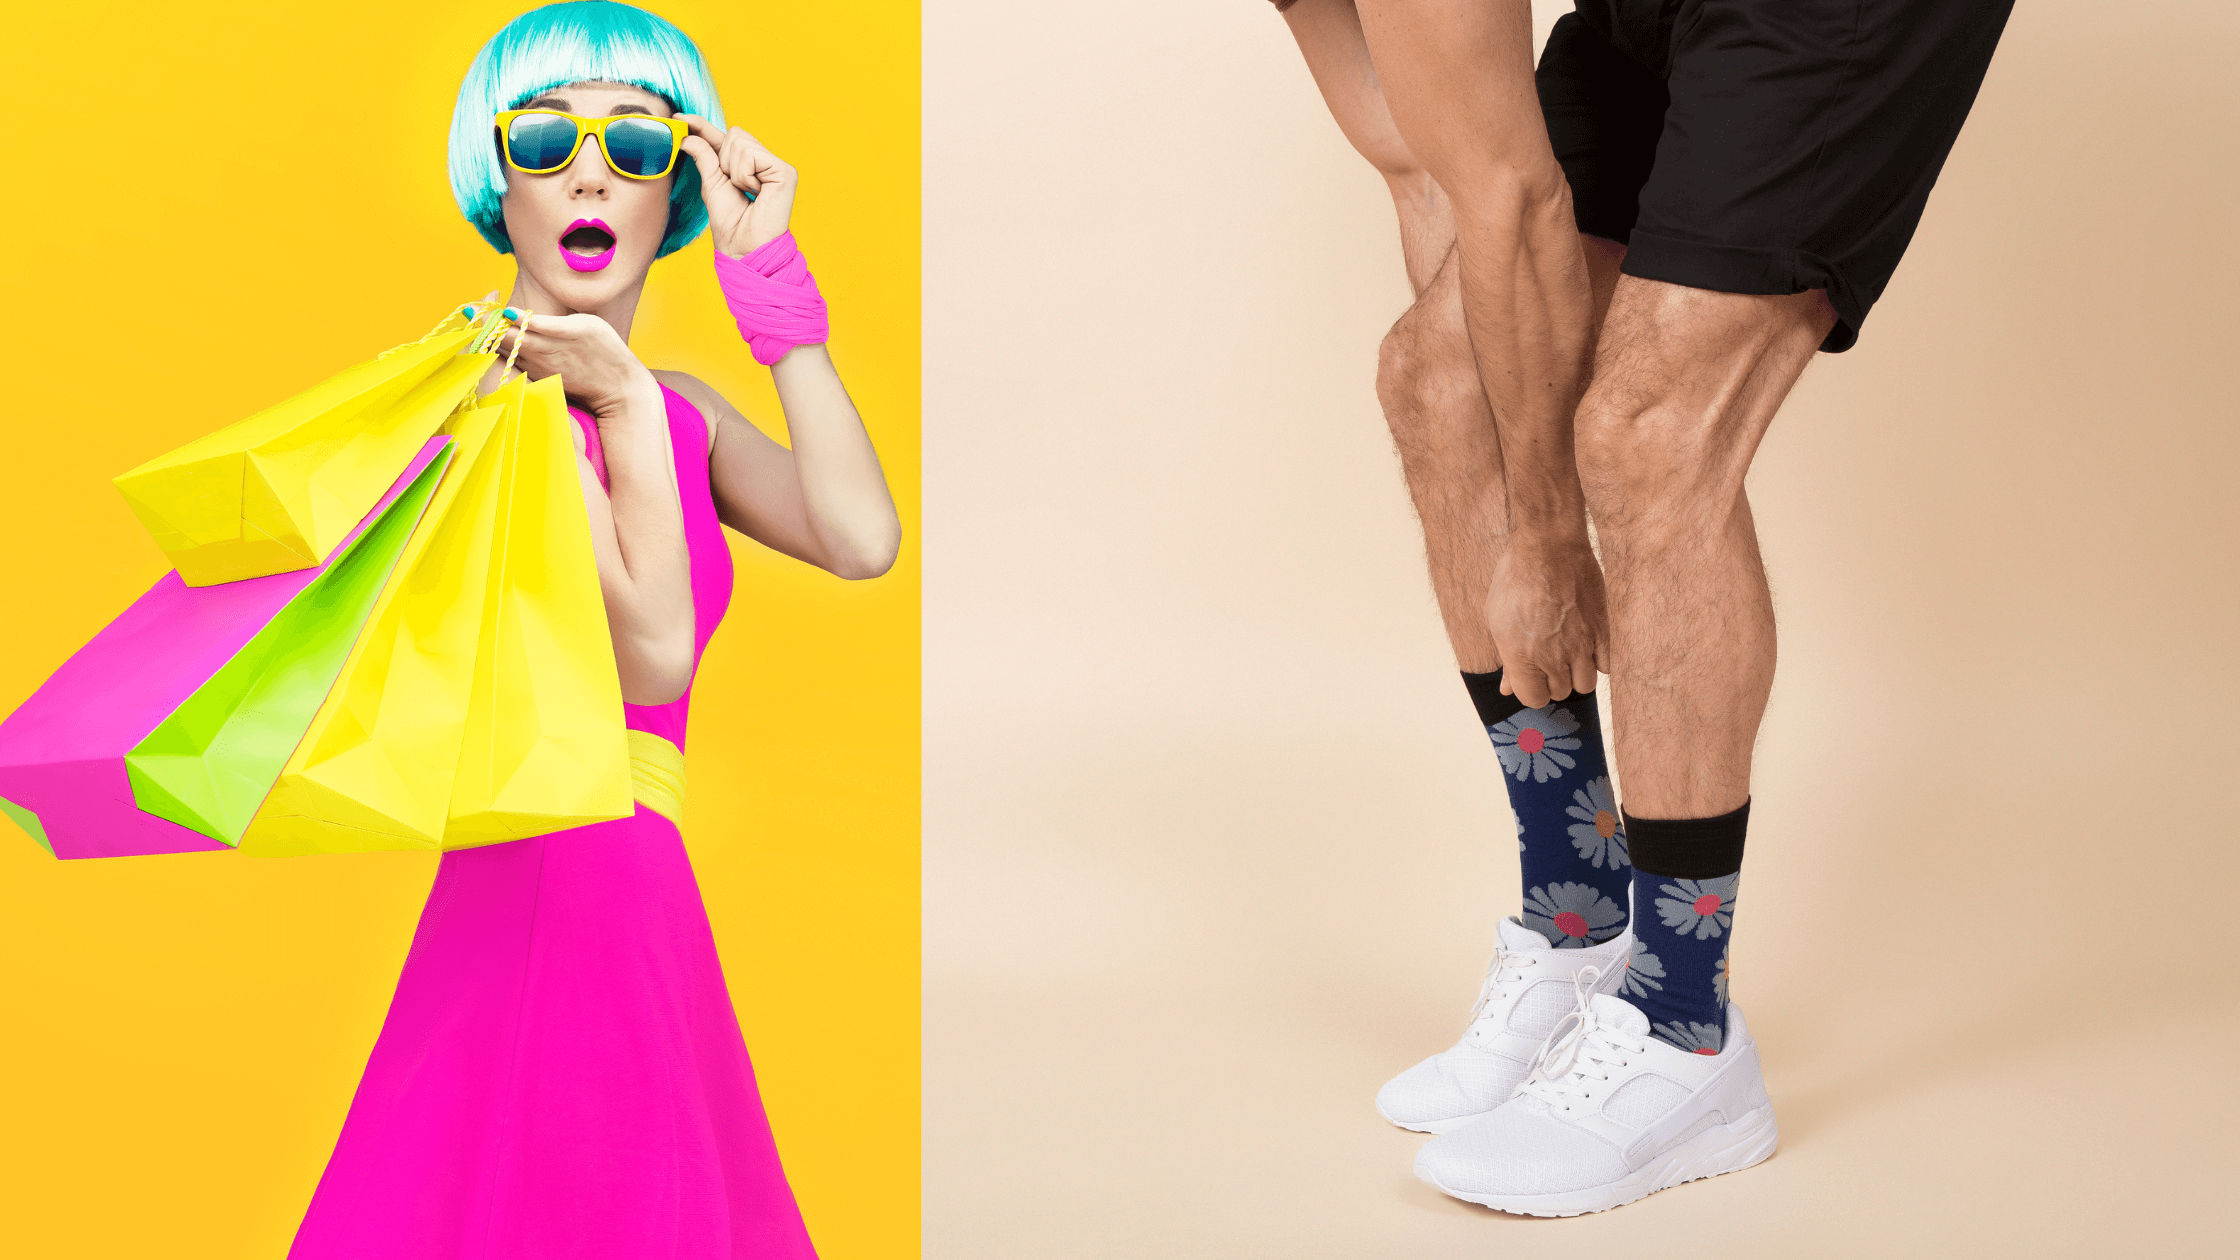


Easy Tie Dye Socks: Step-by-Step Guide to Fun Patterns
- Sock dyeing is such a fun and creative project! It allows you to customize your socks however you want with an array of colours and patterns available. It’s perfect for the novice and the seasoned DIYer alike.
- Collect all necessary supplies, including the fabric dye and rubber gloves. Plastic Container + 100% Cotton Socks Don’t leave these behind these are important to make sure your dye sticks right and your colours come out super bright!
- Clean your socks very well to get them ready for the dye. Then, pre-soak them in a soda ash solution to make sure the dye penetrates the fibres evenly, creating beautiful, vibrant colours that last longer.
- Try out other dyeing techniques such as tie-dye, ombre, or splatter techniques to make one-of-a-kind designs. Each method provides unique and vibrant results.
- Dyeing in warm water is key no matter the method. Gloves are a must to ensure more even results and to keep your hands safe while dyeing.
- Caring for dyed socks Wash dyed socks separately in cold water with mild detergent. This even helps to protect (or set) the colours so the dyes don’t bleed over into other fabrics.
Dyeing socks is an inexpensive and easy way to update your wardrobe or add a little something special to your style. With fabric dyes, you can achieve bright, bold colours or soft, pastel shades to suit your style. Cotton socks are ideal for tie dyeing as they absorb the colour beautifully, leaving you with bright and long lasting results.
The process is so simple that even a first grader can do it with just dye powder, a container, and safety gloves to protect your hands. The warm water allows the dye to get into the fabric evenly, making sure the colour is applied consistently throughout. You can try other techniques like tie-dye to create one-of-a-kind designs.
Dyeing socks is a great and colourful hands-on creative activity. It lets you have a really fun experience with clothing, either from an everyday fashion perspective or a DIY one.
What Is Sock Dyeing
Sock dyeing is the procedure of colouring socks, usually using reactive dyes that attach well to the fabric. This method opens the door for you to create one-of-a-kind socks that feature distinct designs, including tie-dye patterns.
The importance of material makes a significant difference in how well the dye sets. The higher the cotton percentage, the better the results, so socks that are at least 70% cotton work best. Although 100% cotton works best for tie-dye projects, it may be hard to find socks that are 100% cotton.
You can even successfully dye blends such as 80/20 or 70/30 cotton/polyester. Just note, due to the presence of synthetic fibres, your results will be slightly different.
Tie dye socks are an easy choice. For bright and colourful patterns, 75% cotton socks are a good choice, since most of the dye stays on the fabric. Developing designs just takes some creativity on how you place the socks.
For example, if you want to create striped designs, place two socks on top of each other and then fold them in half lengthwise. Swirl patterns, however, require you to lay two socks down side-by-side and twist them up together.
With these methods, you’ll be able to play with colours and patterns to come up with unique expressions that match your vibe.
Materials Needed for Dyeing Socks
Dyeing socks at home is a fun and creative process that’s totally worth the effort, especially when you explore different colour options. If you want the most vibrant, longest-lasting results, you’ll require the best materials. The socks you pick are an important first step in your tie dye journey.
Socks that are at least 75% cotton work best because natural fibres are very receptive to dye. Even blends such as 80/20 or 70/30 cotton/polyester can work beautifully for everyday wear. Though in turn, the colours will be a little less intense, wool socks also provide a great choice for dyeing, delivering one-of-a-kind textures and finishes.
Before dyeing the socks, you need to treat them with alum sulphate mordant. This allows the dye to bond with the fabric and needs to be calculated at 10% of the socks’ dry weight. So if your socks weigh 200 grams, you want to use 20 grams of alum sulphate.
Certain dyes, such as fibre reactive dyes, need soda ash to work their best. These dyes create a permanent bond with the fabric in cold water, making them ideal for use in tie dye projects. Procion MX dyes are a type of fibre reactive dye that can yield stunning results.
Be sure to employ appropriate safety measures, including gloves and a dust mask, to avoid irritation while you create your beautiful tie dye socks. This will ensure you have a safe and enjoyable crafting experience.
How to Prepare Socks for Dyeing
When dyeing socks, it’s important to consider the content of the fabric as well as the state of the socks you choose to work with. Socks that are at least 75% cotton work the best! The natural fibres in cotton help dye to penetrate evenly, which makes for a more uniform appearance.
If you have the option, 100% cotton socks are the best, both for dye absorption and colour fastness. Synthetic blends, on the other hand, can prevent the dye from properly adhering, leading to blotchy or washed-out colours. A new, high-quality pair of socks helps absorption quite well. It helps to lock in the colours, making them bright and long-lasting, wash after wash.
To begin with, you should always wash any new socks. This step helps wash away any remaining manufacturing residues or dirt that may inhibit the dye from penetrating into the fibres. After you wash, the socks should be left damp, not sopping wet.
Wetting them first will allow the dye to absorb evenly and smoothly on the fabric. To begin with, soak your socks completely in running water. Next, fold them up however you’d like them to be patterned and twist them up, squeezing out any extra water as you go.
Avoid spilling your dye by creating a designated area to work. Prepare a flat, protected, easy-to-clean work surface, with access to water and a bowl. This arrangement helps you maintain control over the process and avoid dye from splattering everywhere.
Step-by-Step Guide to Dye Socks
Dyeing socks is a fun, artistic process and a great way to add custom, colourful textiles to your wardrobe. You can create bold, beautiful saturated tie dye designs or opt for an understated solid hue. Whichever dye method you choose, it’s all pretty easy and satisfying stuff!
The kind of sock you use is super important! Your dyeing technique and the way you choose to set the dye will have a huge impact on the final result. They work best on socks that are at least 70% cotton white. Choices such as 100% cotton or blends of 80/20 or 70/30 cotton/polyester hold dye better. A 70% cotton guarantee means the colours stay bright and even, making them perfect for your everyday wear.
If making matching tie-dye striped socks, stack two socks on top of one another and fold them in half lengthwise. To make the swirl pattern, double up two socks, twist them together to form a spiral and secure with a rubber band. For the crumple-dye method, you will need damp socks laid out flat and scrunched up into small folds before dye application.
After dyeing, let your socks and dye set for a minimum of 24 hours. This time allows the dye to fully permeate the fabric, resulting in more vibrant colours. After you have dyed your socks, rinse the socks under warm water until it runs clear to remove excess dye.
Taking your time and being mindful can help you create special designs customized to your vision, ensuring that your socks stand out in your sock drawer.
Fun Patterns for Dyeing Socks
With dyeing socks you can really make a statement about your personal style. Tie-dye patterns are an ideal choice for giving your socks that unique flair! Tie-dyed socks are super simple and fun to make. They are so filled with colour, and look amazing with so many summery looks!
The process is simple enough that anyone can do it, but leaves plenty of room for the more adventurous to play and create. The most popular technique is the spiral pattern. Roll the socks tightly into a spiral, similar to how you’d roll up a cinnamon bun.
Finally, use rubber bands to bind the spiral together to keep it in shape. We found that the spiral design is especially good with several colours to give a really dramatic finish.
Striped Pattern
Another easy technique to achieve is the striped pattern. When laying the socks flat to dry, leave them long. Wrap them up tightly with rubber bands, spacing each one roughly 2.5 centimetres apart along their length.
This technique produces clean, vibrant stripes. If you’re looking for something a little less serious, go for the bullseye pattern. To start, rubber band the middle of the sock and dye this area first.
Even if you only use two colours such as fuchsia and turquoise it creates an amazing effect. As these colours combine, they create a new, bright purple, creating additional contrast in the design.
Tips for Achieving Best Results
Starting with the right materials and following a few methodical steps are keys to making the most vibrant and long-lasting tie-dye socks. Start with a pair of plain white socks that are at least half cotton. Socks with a higher percentage of cotton, like 70%, will produce the best absorption with the dye.
Generally, cotton or other plant fibres take colour better than synthetics. This important detail is what makes all your efforts pay off with bold, cool designs instead of washed-out results.
When it comes time to prepare the dye, accuracy becomes even more important. If you’re working with Procion MX dyes, dissolve 3 tsp of dye powder in 250 ml of warm water. Follow package instructions for other dyes, but always mix the solution thoroughly to prevent streaks or spots from developing.
Once applied, patience is the most important ingredient. Allow the dye to set for a minimum of 24 hours (preferably on a wire rack to prevent colour pooling). This process increases both the richness and permanence of the hues.
Once the dye has set, rinse the socks in running water until the water runs clear. This helps remove excess dye and prevent bleeding. Then run through a hot-water cycle with a colour-safe detergent such as Synthrapol.
To avoid tie-dyed items bleeding onto other laundry, wash them separately for the first few washes. Following these steps guarantee bright, lasting results, every run.
Common Mistakes to Avoid
When dyeing your socks at home, a little know-how goes a long way to ensuring your vibrant, long-lasting colours are anything but dull and disappointing. With the right preparation and handling, success is easy. Thus, avoiding these mistakes is key for anyone just starting out on this journey.
One big mistake is underestimating the power of fabric dye to stain. It will rub off onto everything it touches, including work surfaces, other clothing, and eventually even your skin. Using gloves means you won’t contaminate your hands with mess.
Lay down plenty of old newspapers or plastic drop cloths to spare yourself the clean-up agony. Working with soda ash without gloves can be very harsh on your skin. This chemical is often the industry standard used to scour fibres before dyeing. These steps, while seemingly easy, are often skipped, resulting in preventable disasters.
Selecting the proper material is another key element. Socks that are mostly cotton (75% or more) produce the best results for tie-dyeing. Natural fibres take up dye much better than synthetic fibres.
Although fabrics that contain at least some amount of synthetic content can be dyed, the outcome is often not as vibrant. Not correcting the dye properly is a common mistake that’ll cause clothes to bleed colours when washed. Once you’ve applied the dye, ensure that you let it set according to the package instructions.
This might mean treating them with heat or a specific chemical fixative. Rinsing is just as essential. If dye is not rinsed out of the fabric in cold water after 12-24 hours, the result is often patchy, uneven colours. Instructions typically will tell you to let the dye sit for a certain amount of time.
Don’t rush this step - doing so will greatly diminish your final results. The only process in this extensive journey from washing the fibre to drying the finished product can take up to three days. With proper planning, there should be no need to cut corners.
Finally, not properly using fabric dye and soda ash can cause unpredictable results. Each brand or type of dye has different instructions, and when you ignore these you are usually asking for trouble.
Reading and following these instructions carefully will make for an easier process and greater creativity.
Caring for Dyed Socks
Tips for caring for your tie dye socks will ensure that they stay fresh and colourful. This special care goes a long way towards preserving them, too! These socks particularly those created with the tie dye technique - require extra attention in order to maintain their unique patterns and colours throughout breaks and washes.
If you adhere to a few simple guidelines, you’ll be able to keep them looking their best for many years to come. For one, it’s really important to wash your tie-dye socks separately for the first several washes. This will ensure that dye doesn’t bleed onto other items in the laundry.
For maximum longevity, always use a mild detergent. It will set the colours to keep them from running and fading and protect the fabric from harsh detergents. To make the dye more colourfast, use Rit ColorStay Dye Fixative immediately after dyeing. This process sets the colours and reduces the chances of bleeding in later washes.
When it comes to drying the socks, air drying is strongly advised. This technique lets us maintain our colour saturation while still respecting the integrity of our stripe patterns. Skip fabric softeners or dryer sheets, which can dull the colours with each wash.
Soak the socks in a solution of white vinegar and cold water. Let them sit for 30 minutes from the time you rinse out the dye. This quick addition makes an even bigger difference to set the colour.
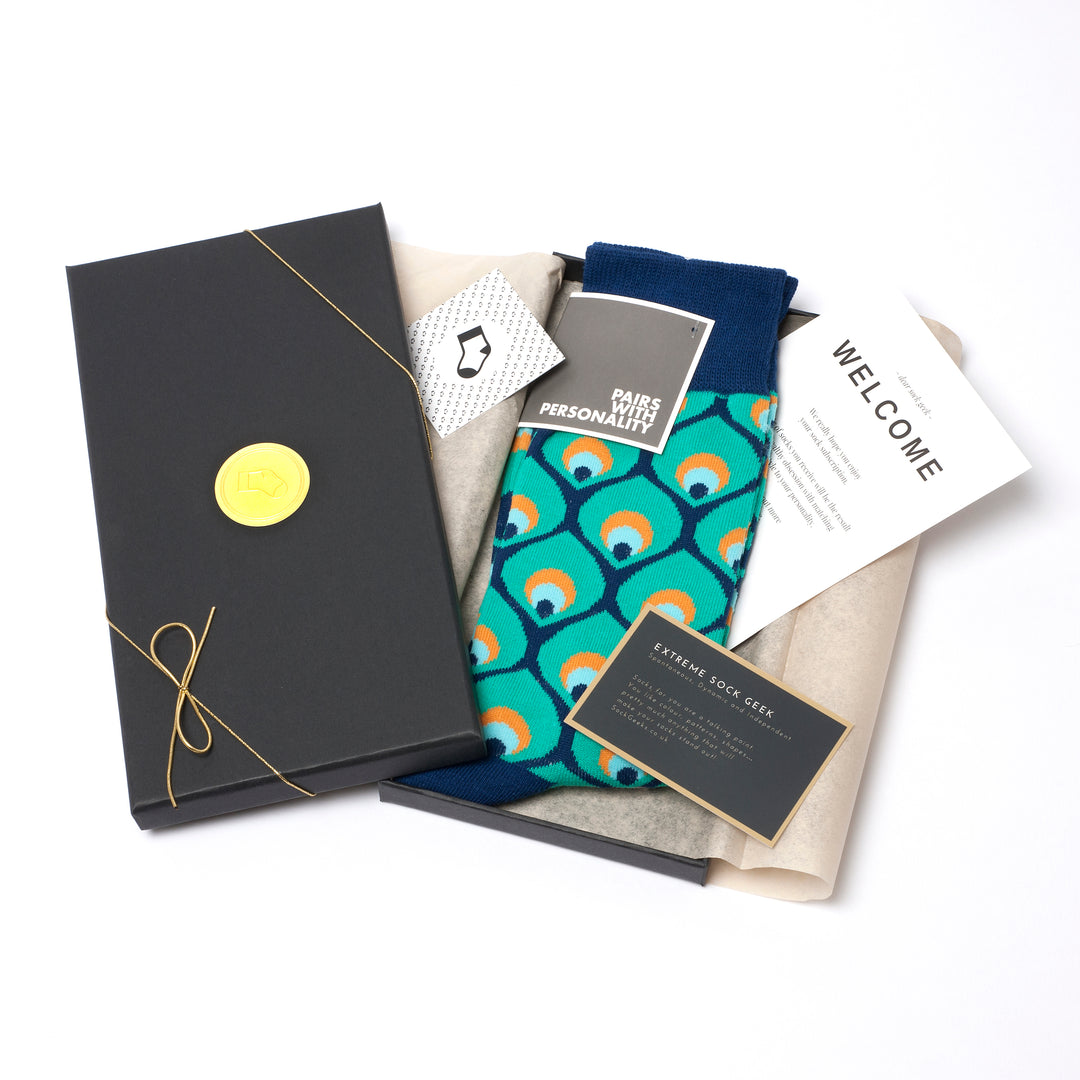
At Sock Geeks, we may not sell pre-dyed socks, but we fully encourage creativity and self-expression through DIY projects like tie-dyeing! Dyeing your own socks is an exciting, sustainable way to add personalized flair to your wardrobe. Whether you’re creating bold, colourful swirls or subtle ombré effects, experimenting with fabric dyes lets you craft one-of-a-kind designs. We always recommend starting with high-cotton socks for the best results. Pair your custom masterpieces with our premium collection of comfortable, eco-friendly socks, and take every step in style!
Conclusion
Dyeing socks at home is a great way to customize your wardrobe. It’s a fun and artistic way to practice colour and pattern combinations and turn boring socks into masterpieces! Using common materials and easy-to-follow steps, dyeing socks turns into a fun and simple activity. From tie-dye swirls to ombre fades, there is a lot of creative license for your artistic vision.
Proper care of your dyed socks will help the colours stay bright and beautiful. A little gentle washing and considerate drying will go a long way to keeping them looking great for years to come. If you’re making them for yourself, gifts, or just to learn something new, this is a gratifying endeavour.
So why not take a step and try it out? Grab your dye supplies, choose your favourite colours, and get ready to craft some vibrant socks that will turn heads.
Frequently Asked Questions
What is sock dyeing?
Sock dyeing is the practice of dyeing plain socks using various dye techniques, allowing for the creation of beautiful tie dye socks. This method provides the flexibility to design unique patterns, making for a one-of-a-kind, snazzy sock!
What materials do I need to dye socks?
For this tie dye project, you’ll need fabric dye, plain white socks (the more cotton, the better), rubber gloves, water, a bucket or basin, and a stirrer. Optional items include elastic bands and stencils for unique dye designs.
Do I need to wash socks before dyeing?
Yes, it’s best to wash socks before dyeing to remove any dirt, oils, or chemicals. This preparation allows the dye technique to better penetrate the fabric, resulting in brighter, more even tie dye colours.
How long should I leave socks in the dye?
Usually, the recommended dye time for creating beautiful tie dye socks is 20–30 mins. Refer to the manufacturer’s directions on the dye packet for optimal dye results, and make sure to stir for an even colour.
Can I create patterns while dyeing socks?
Yes, you can create beautiful tie dye patterns by folding, twisting, or binding socks with rubber bands. Using stencils is great for shaping, or you can layer different colour options for a gradient effect.
How do I care for dyed socks?
Wash your tie dye socks in cold water by themselves for the first few washes to prevent dye bleeding. Always air-dry to help maintain the colour and fabric quality.
What are common mistakes to avoid when dyeing socks?
Don’t get lax on pre-washing, using too little dye, or not mixing dye well enough, especially when creating vibrant tie dye designs. These lead to problems such as mottling, streaking, lack of vibrancy, or splotchiness. Read directions thoroughly the end result will thank you.


Leave a comment